Blog Archive
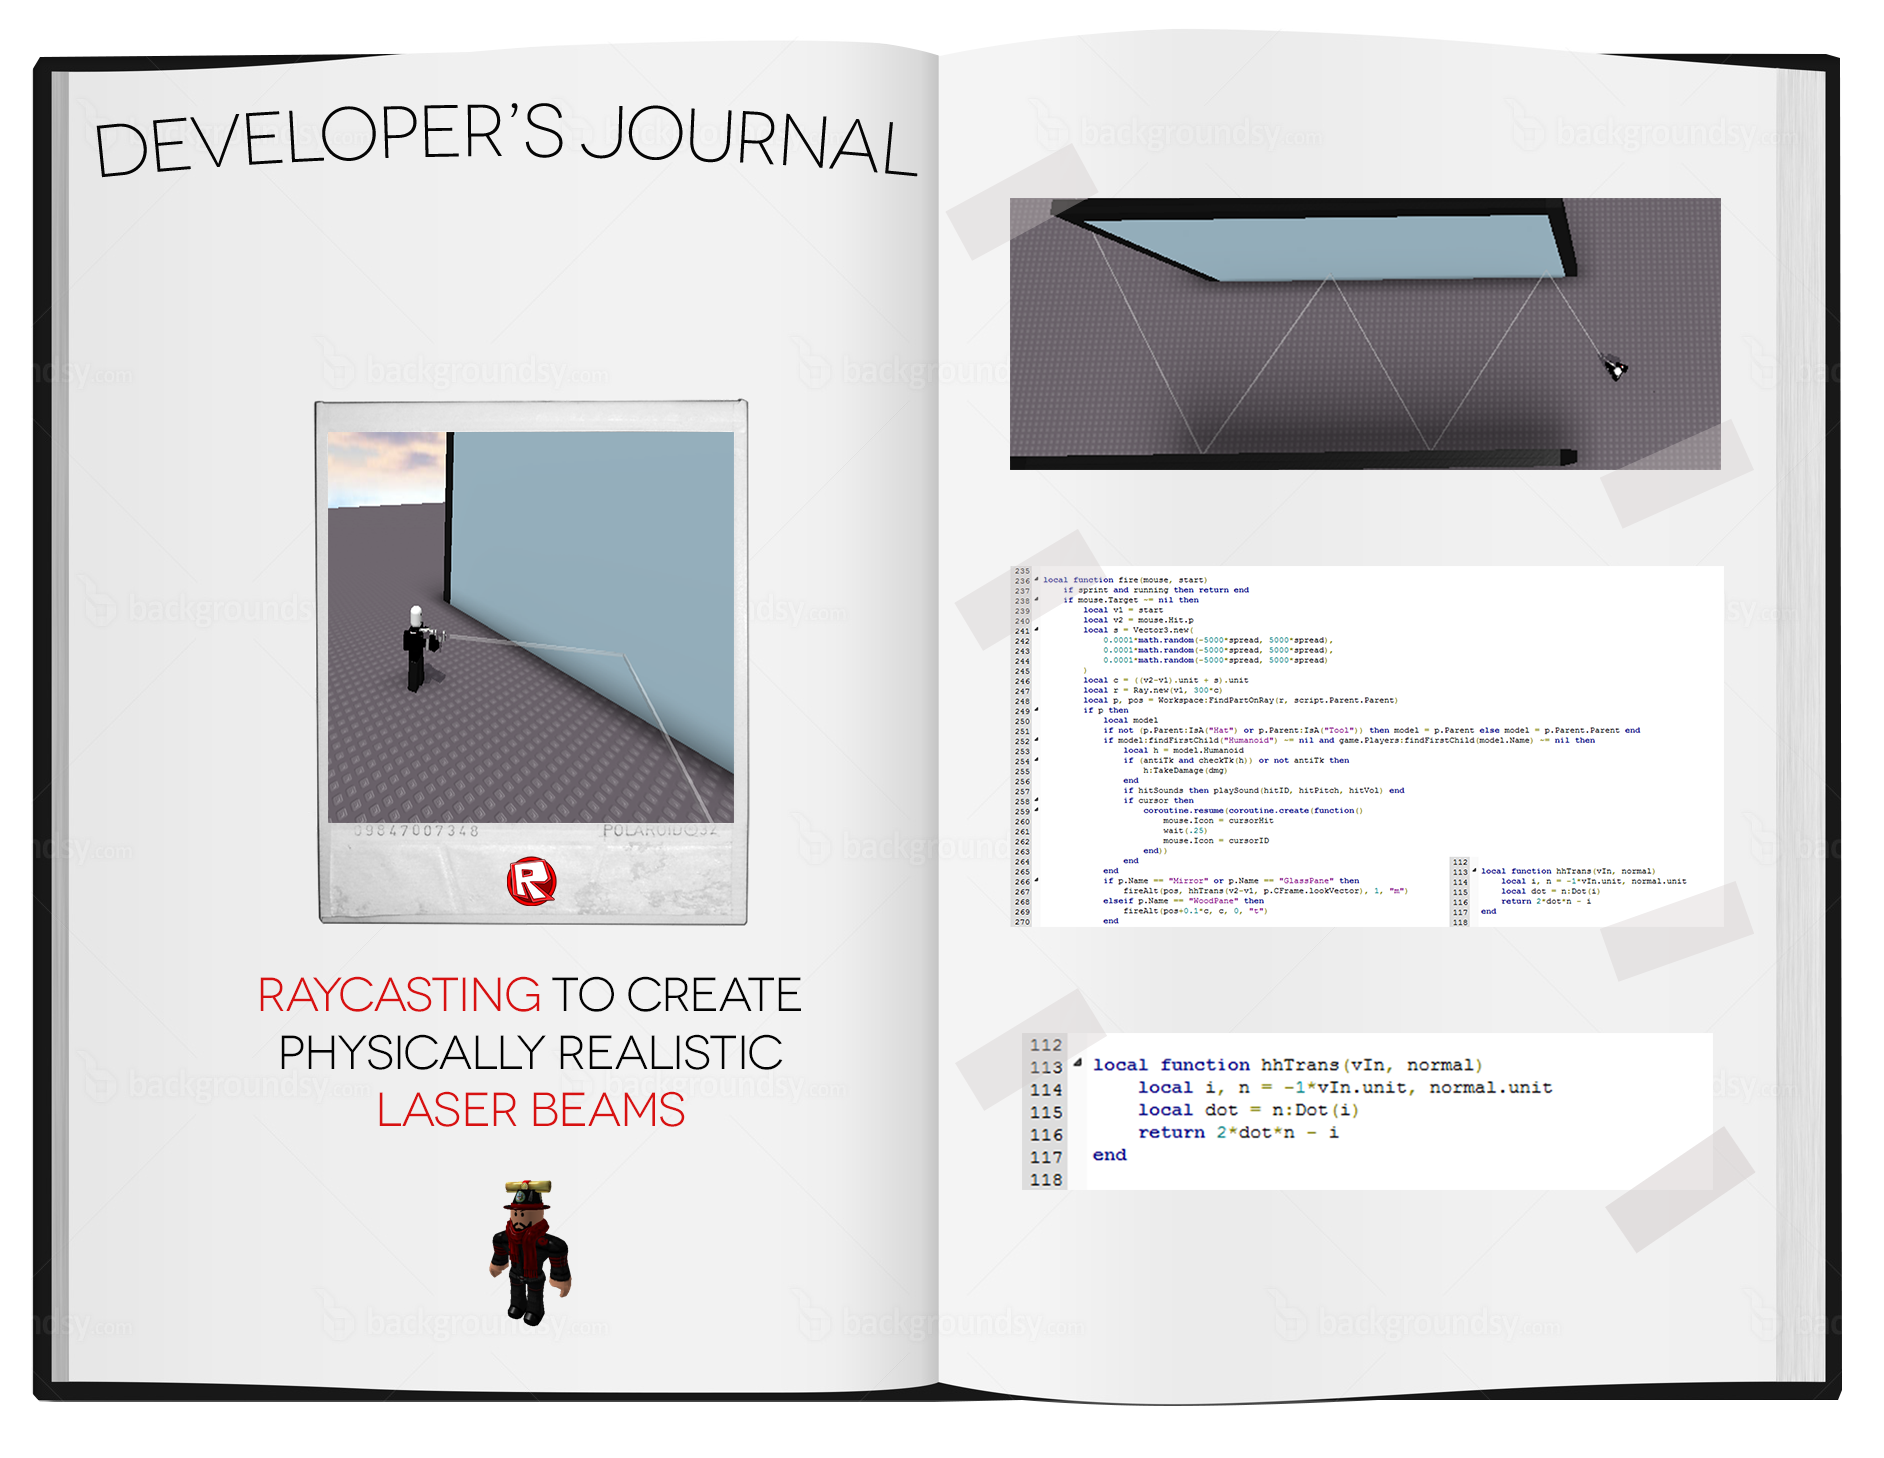
Developer’s Journal: Raycasting to Make Reflectable Lasers
by Catblox
Archive News Tutorials
 Hello everyone, this is Catblox–I’ve been a long-time member of ROBLOX (five years and still going) and a scripter for a little over half that time. Today, I’m going to talk about some more advanced ways to use ROBLOX’s raycasting API – namely simulating the interactions of lasers with mirrors. I’ll walk you through the steps of how to turn an idea like this into a finished product, explaining the basics of vector (and Vector3) math and features of ROBLOX Studio’s API along the way. To check out an example of what I’ll be explaining, check out this test level I made, which will show you the basics behind this premise.
Inspiration
I decided to work with advanced raycasting after studying aspects of it in my day to day educational endeavors. First, I learned about specular reflection in my physics course. This type of reflection is normal, flat-surface reflection, and is very simply described: angle in equals angle out. Second, I began reading about vector math in my calculus course. My teacher and I had a few opportunities to discuss ROBLOX Vector3s and vector quantities between classes, so I began thinking of how to cross my physics knowledge with what I was learning about vectors. That being said, I attempted to derive the specular reflection formula from scratch – which led to a dead end. With a bit of research on Wikipedia about specular reflection, I finally figured out the equation I could use to simulate reflecting lasers. The end result of this work was a laser weapon capable of bouncing lasers off of mirrored surfaces.

Vectors and Vector3s
I’m sure most of you know about the Vector3 values in ROBLOX Studio. Positions, CFrames, Sizes, Velocities–all other sorts of properties use a set of three numbers to track where something is, how big it is, and how fast it’s going. Most often, a Vector3 is a convenient way to hold a position in three-dimensional space. However, we can take a Vector3 and think of it as an arrow instead, as a vector connecting (0,0,0) to another point in space.
To put this in perspective, let’s say we have a Part floating around in virtual space. Let’s say the Position property is (1,2,3). If we look at this like a vector, we can say that the part was at (0,0,0), but it was moved over one unit, up two units, and back three units. Then, we can draw an arrow between (0,0,0) and (1,2,3) – that’s our vector.
How Vector Math Works
This vector we’ve drawn now has a bunch of properties, which can be found in ROBLOX Studio as functions under a Vector3 value. The ones we’ll be talking about most when it comes to raycasting are “dot product”, “magnitude”, and “unit vector.”
The magnitude of a vector is simply how long it is. In ROBLOX, all vectors start at (0,0,0) and extend to the point they describe.
The unit form of a vector is simply a shrinking or stretching of a vector so that its magnitude equals one. The best way to picture this is to imagine a sphere with a radius of one sitting at (0,0,0). Every vector can be shrunk or stretched so that the endpoint is on that sphere’s surface.

The last operation we need to talk about is the dot product. It’s a key part of the relationship between the magnitudes of two vectors and the angle between them:
v•w = |v||w|(theta) where the two bars around |v| represent the magnitude of v.
Basically, the dot product takes the matching coordinates from each vector, multiplies them together, and adds the results of each coordinate together. This leads to a property about dot products that will become very important in writing our script — the dot product of a vector and itself equals its magnitude, squared:
v•v = |v|²
And when the vector v is a unit vector, because the magnitude of a unit vector is always one:
v•v = 1
How to Reflect a Laser (with math!)
Now that we know a bit about how vectors and Vector3s work, we can talk about reflections in terms of vector math and easily turn our work back into usable Lua code when we’re done. Here’s how I approached writing my code:
- Determine what my end product will be – in this case, a script that reflects a raycast beam realistically off of a flat surface.
- Draw a diagram of the situation – how does the reflection look on paper? For a normal reflection, we can use the law of reflection (angle in equals angle out) to create a quick sketch.
- Do some math with the diagram to find our outgoing ray. Knowing trigonometry and algebra is very useful here. I’d recommend searching the Internet for equations or using Wolfram|Alpha as a resource if you need help.
- Use ROBLOX’s Vector3 properties to rewrite the equation into code.
- Take the new code and write it into whatever you want to raycast with. Because I intended to write a weapon script, I wrote the equation as a function.
Because of all of the math and pictures I’d need to explain these first few steps, here’s a short video explaining how to turn a diagram into an equation:
[do action=”youtube-iframe” videoid=”yKyb_wJTaDk”/]
Editors Note: At 1:25, Catblox is referring to this trigonomic identity equation: cos(2u) = 2cos^2(u)-1
After a bit of processing, we end up with an equation: w = 2(n•v)n – v
Our next step is to turn this into a segment of Lua script. We know there are two inputs (n and v) and one output (w). So, we can write a Lua function reflect(n,v) that solves this equation for us:

function reflect(n,v)
local n1 = n.unit
local v1 = v.unit
return 2*(n1:Dot(-1*v1))*n1 + v1
end
You may notice that everywhere the vector v shows up, it has the opposite sign of what it has in the equation. Remember that in our diagram, we had to reverse the direction of our incoming beam so that it pointed away from the surface. Reversing the direction of a vector is the same as multiplying it by -1, so we can do the same in our function to represent that change.
Because unit vectors make math so much easier – and are essential for working with reflections – it’s always a good idea to make sure that any inputs are unit vectors. It’s easy enough to get unit vectors using v.unit, so putting that line inside a function helps prevent any math errors down the line.
As I explained in the video, the outgoing vector will have the same magnitude as the original vector. Since we made our incoming ray a unit vector, this means we have a unit vector for our outgoing ray. This is actually very convenient for raycasting, because it makes choosing the length of the cast ray very simple:
- The length of a Ray in raycasting is equal to the magnitude of its Direction Vector3;
- The length of our direction (w) is equal to 1;
- We can control the length of our ray by multiplying our direction vector by the length of the ray we want.
Because of this, if I wanted a ray of length 300 from my point of intersection, I could use the following code to construct a new Ray:
local r = Ray.new(point, w*300)
local p, pos = Workspace:FindPartOnRay(r)
Wrap-up
 If there’s anything I’d like you all to take from this:
- Have a plan – knowing your end goal makes writing and troubleshooting far easier.
- Never underestimate the power or utility of a diagram. This is true for just about any project – building, scripting, graphic design, filmmaking–just about any real-life situation.
- There are scripting resources everywhere, and non-ROBLOX and non-Lua sources (Wolfram|Alpha, Wikipedia, etc.) have great information that integrates well with sources like the ROBLOX Wiki and LuaLearners.
- Don’t give up on a project at the first problem – any chance to explore a challenging problem is an opportunity to improve your scripting skills.