Blog Archive
The ROBLOX Team presents: an incredibly exciting release! We’ve got so much stuff in here, I’ve been procrastinating on writing this blog post, running around my house and jumping up and down for the past two hours, because it is too exciting to even convey in words. I can say without hyperbole: it is impossible to overhype this latest release. So… what have we got?
Users Can Make Badges
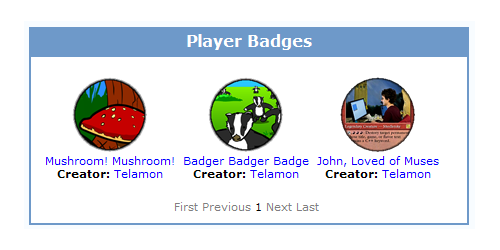
Builders Club members can now make and award their own badges! BAM! Bet you didn’t see that one coming. In my conversations with players over the past several months, a common request was that ROBLOX come up with great new features for level builders. Here is one.
Nuts and Bolts of Badges
It costs 100 R$ to create a new badge. This is for a variety of reasons, but the main one is that it will drastically cut down the number of spam badges that users would otherwise create. Once you have bought a badge, you can award unlimited copies of it for free, as long as you remain in Builders Club. If your BC lapses, players keep the badges they won from your place, but you can no longer award those badges unless you renew.
Badges are a great way to get people to play your level, and to advertise for your level across ROBLOX. There is no limit to the number of different badges a single level can award.
How to Create a Badge
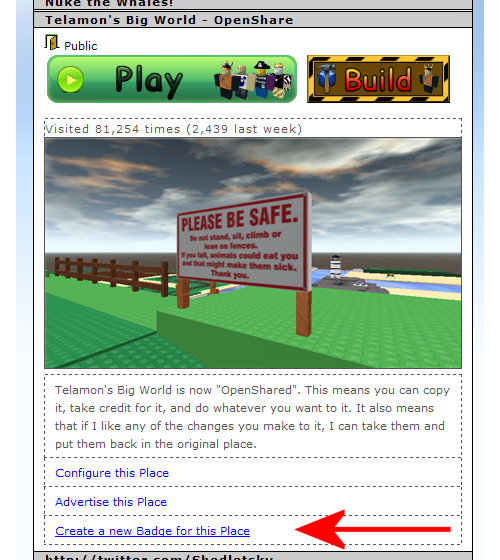
Making badges is easy. The hardest part is actually finding the link to the “Create Badge” page. It’s right under the “Advertise this Place” link on your place page and in the player showcase (shown above).
The first step is to upload an image for your badge. You can upload any image, but it is recommended that you use the badge template.
If you download the badge template, you can just draw inside the white area, save your image, and upload it to ROBLOX.
All badges are round. If you draw in the black area, it won’t show in the final badge.
If you aren’t using the badge template, it is recommended that you at least upload a square image, otherwise your badge image will get stretched (all badges are 150 x 150 pixels).
Don’t worry, you will get a chance to see what your badge will actually look like on the site before you pay for it.
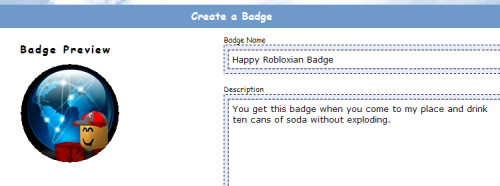
On the next page, give your badge a good name and description. The description should tell people what they have to do to win your badge. Then click the “Buy” button at the bottom of your screen.
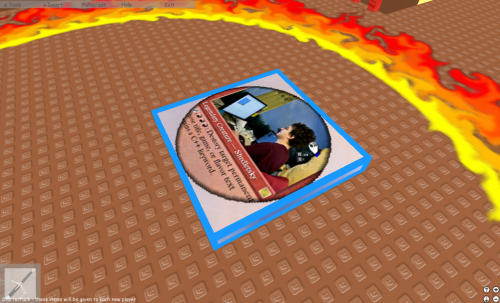
You’ll get some instructions on the next screen. Basically they tell you to add the “Badge Giver” model we created for your badge to your place (shown above). Anyone who touches the giver platform will get your badge. Place the giver in at the end of your obstacle course, at the top of your mountain, or in a hidden spot!
Important Notes About Badges and Givers
- If you buy a badge for a place, it will only work in that specific place.
- Badge givers only work in the place we created them for.
- You can only give away your own badges.
- Copying other player’s badge givers will not work.
- If you delete your giver from your models, you can get a new one by clicking the “Create Giver” button on the Badge page for the badge you created (click on the badge from anywhere on the site).
- Badge givers are not necessary to give out badges. If you crack the giver in ROBLOX Studio, you can see the script we generated to award the badges. Advanced users can modify this script to do amazing things. There will be a blog post on advanced badge scripting at a later date.
Win Some Badges Now
If you want to win some badges now, try out this demo place I made. It’s very simple. I’m sure you can do better!
* * *
New Group Features
That’s not all! RobloTim has spent the past week working on some awesome (and very much demanded – see? we listen) features for groups.
More Groups
We have increased the number of groups that users can be in, since a lot of users felt that 5 groups was not enough (and they are right). The limits are now:
- 5 groups for free users
- 10 groups for BC members
- 20 groups for TBC members
Group Search
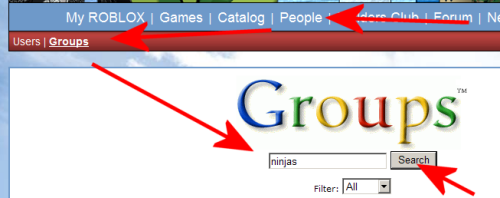
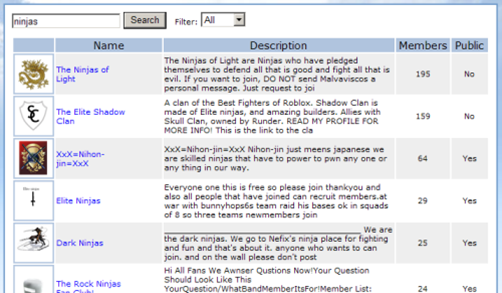
Finding cool groups to join is now much easier than before, with our handy Group Search feature. To get to group search, click the “People” link and then click “Groups” on the main nav bar. Now you can find other players who like ninjas (or anything else you might like).
Whoa that’s a lot of ninja groups. Going to be hard to decide which to join…
Group Ownership Transfer
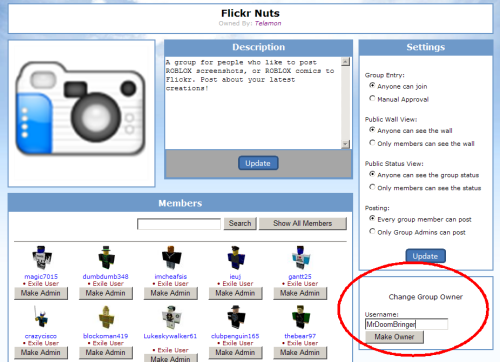
Want to leave a group that you created? No problem! There are two ways to do it. You can pick a new person to own your group (using the Change Group Owner box in the group admin page), or you can just abandon the group (by leaving it). If you abandon a group you own, a link will pop up on the group page, allowing any member to seize ownership!
The new owner of the group must:
- Be in the group
- Have Builders Club
Group Status Updates
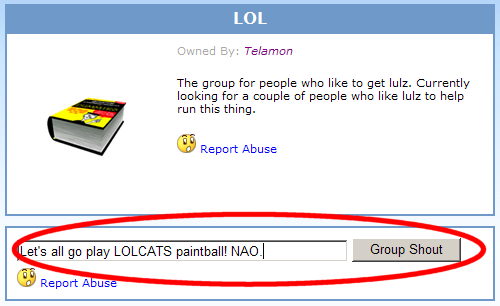
Group owners and admins can now post “Status Updates” for the group, which will blast out new updates to everyone in the group. These messages will appear as feed updates on group members’ home pages. Great for calling group meetings!
* * *
My ROBLOX Redesign Continues
RobloSam has been hard at work continuing the redesign of the old My ROBLOX Profile page. The Profile page remains mostly the same (except it looks better), however we now have tabs on the red personal navigation bar for most of the tasks that normally you would have had to go to the Profile page to accomplish before. We’re all still getting used to it, but once we do, I believe navigating through one’s personal ROBLOX pages will be a lot snappier.
* * *
If the title of this blog post made no sense to you, you probably should either: 1) get off teh internets forevar or 2) educate yourself. Just a thought 😉
– Telamon
